Setting up Microsoft® Exchange ActiveSync on Android
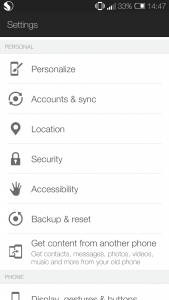
Step 1
Step 2
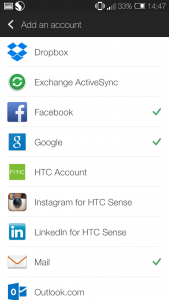
Hit ‘Add Account’ and then select either ‘Corporate’ or ‘Exchange active sync’ if it’s available.
Step 3
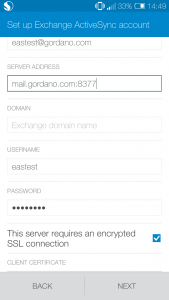
Enter in your email address and password here
Step 4
Enter in your server details here, followed by the port number. (Default ports are 8376 for non-ssl and 8377 for ssl encryption)
For GMS Cloud this will be mail.gms-cloud.com:8376 or mail.gms-cloud.com:8377
Step 5
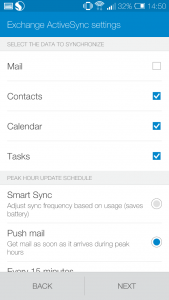
Select what you want to sync and decide what you want to call the account name.


