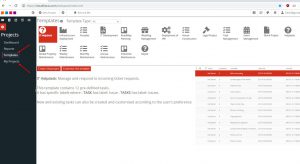
Before creating a new project, a project template type must be selected. The default project template is ‘IT Helpdesk’. To learn more about the the pre-defined project templates found in GMS Project, please read this article.
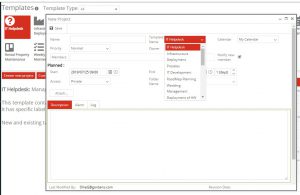
A project template type can be picked either from the default GMS Project menu via the ‘Templates’ menu tree on the left, or within the ‘Create new project’ popup menu from the ‘Template Name’ dropdown menu. Both examples are shown below:
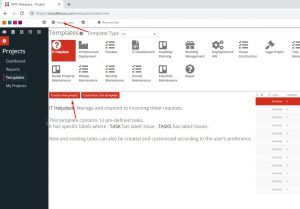
Once a project template type has been selected, a new project can be created using the desired template by either clicking on ‘Create new project’ from the default GMS Project menu or by selecting ‘New Project’ from the header dropdown menu, as shown below:
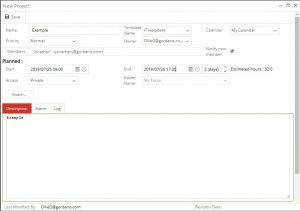
The criteria of the project can now be established using the fields in the ‘Create new project’ popup menu. In this menu, the project can be named, team members can be assigned, documents can be attached, permissions can be applied, start and end dates/times can be established, and the project can be given a description. Even the project template can be changed. An example is shown below with all fields completed:
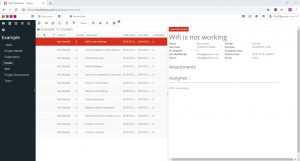
Once the criteria of the project have been established the project can be saved. This will automatically open the newly created project, as below: