GMS PWA: A How-To Guide
Last week we told you all about PWAs (Progressive Web Apps); their distinct advantages over native apps, and the way in which we were planning to implement a GMS PWA. If you missed that you can check out the article here. This week, we’d like to demonstrate exactly how our GMS PWA will work, from the point of view of a user. So, without any further ado, let’s get down to it.
Installation & Setup
For the purpose of this demonstration, we will assume we have accessed a PWA-enabled URL of the GMS Webspace application using Chrome on an Android-enabled device.
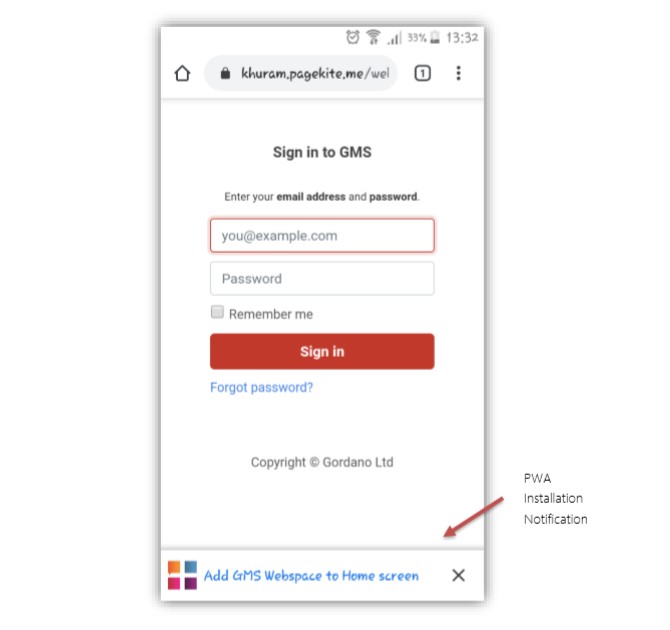
Upon arriving at the URL, we are automatically notified that we can add the GMS PWA to the phone home screen, as highlighted in the following screenshot:
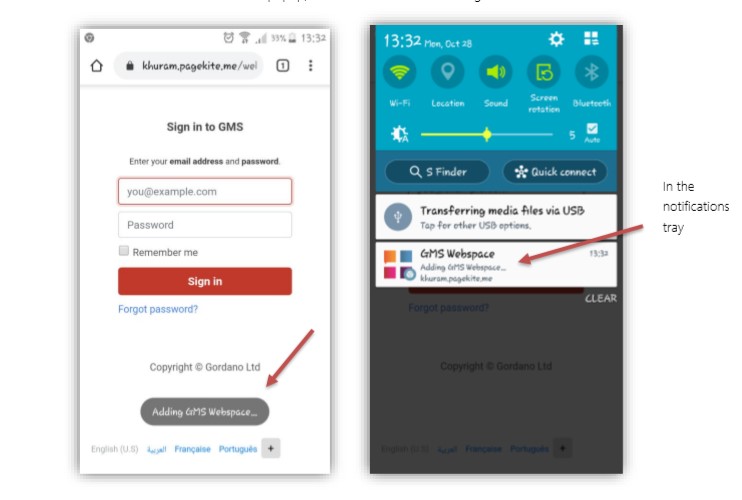
When we click on this notification, the “Add to Home Screen” popup appears, allowing us to either start the installation of the PWA or to cancel. By confirming we would like to install the PWA, we see the following:
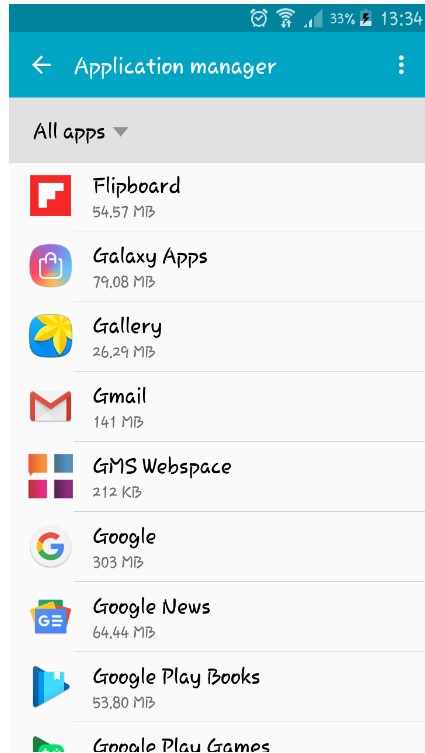
When the PWA is successfully installed, we receive a notification of confirmation. The app also now appears in the App drawer, as well as in the Application Manager:
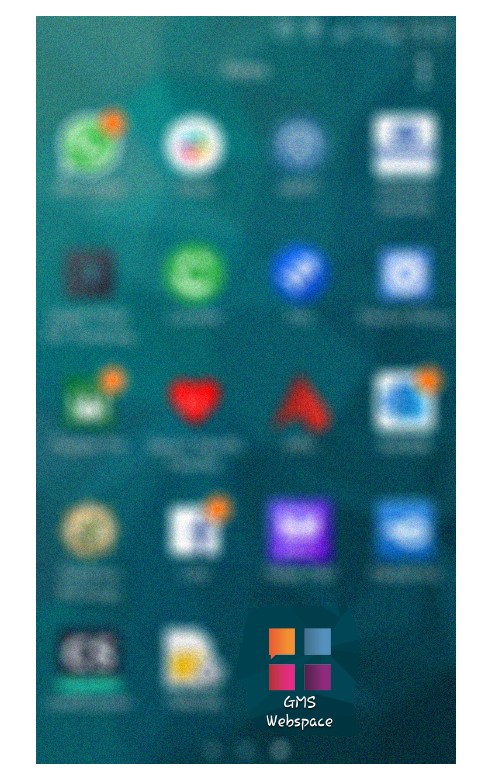
Now we can launch the application using the app shortcut icon on our phone’s home screen, which in turn launches the app splash screen. Once the app has initialised we are presented with the app login screen, as reflected below:
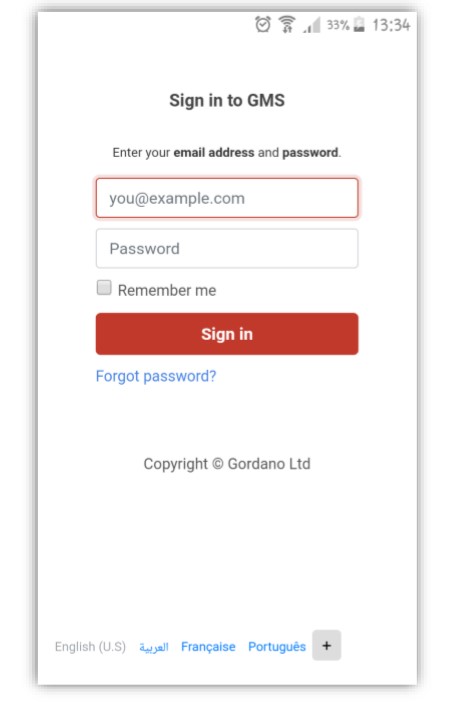
From here, we can enter our user credentials to invoke the sign-in process.
A successful sign-in will take us to the GMS app user interface, where we have access to all our apps (based on access rights) which can be triggered accordingly:

Now that we’ve covered how to install and setup the GMS PWA, let’s take a closer look at how the GMS PWA has been integrated with GMS Drive and GMS Office.
GMS Drive
Having accessed the GMS app interface, we can access GMS Drive by clicking on the relevant app icon/button. We are then taken into the GMS Drive standalone app, as presented in the screenshots below:
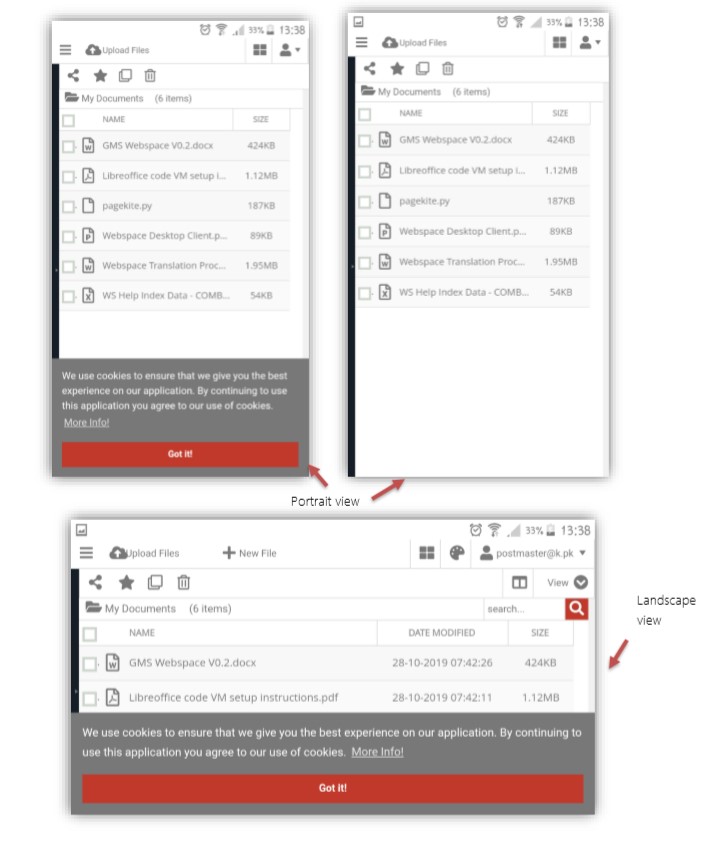
In the GMS PWA, all of GMS Drive’s features and functions work in the same fashion as if we had accessed Drive via a web browser.
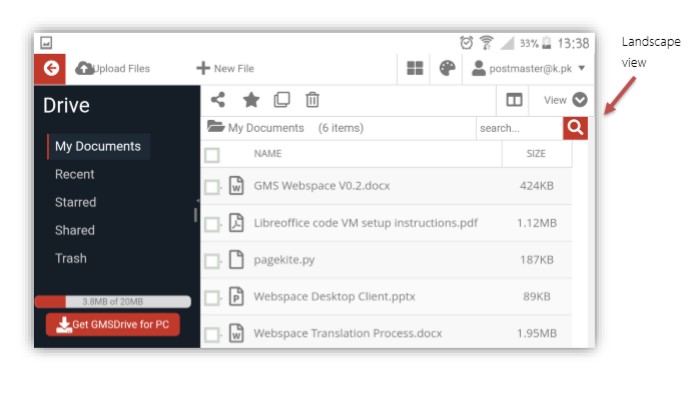
We can switch between folders using the hamburger icon:
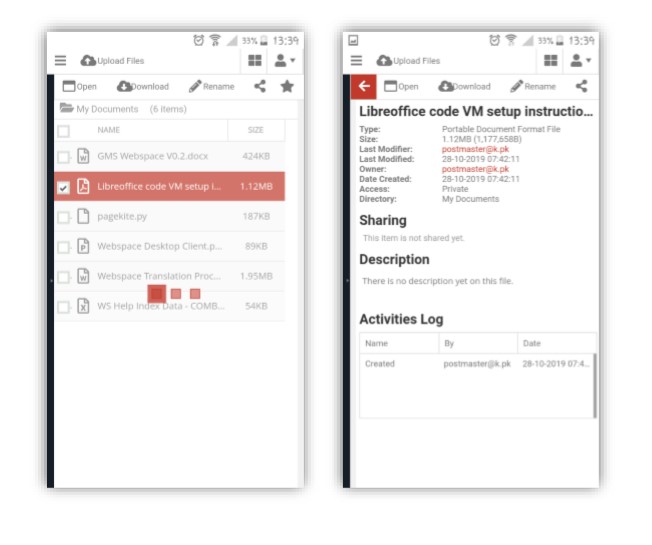
We can view document details:
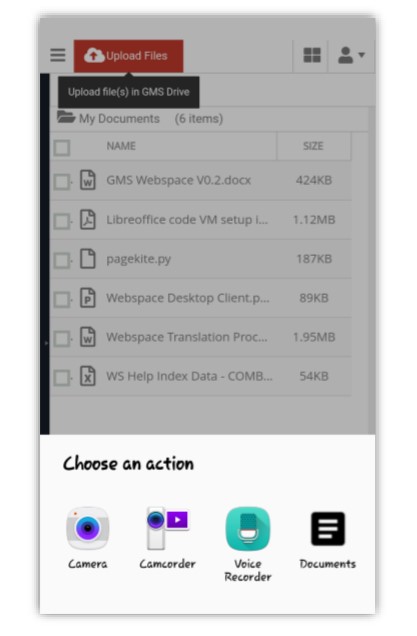
We can upload files to GMS Drive and select the medium through which we would like to upload:
GMS Office
We can now switch from GMS Drive to GMS Office either by scrolling back to the GMS main app interface or by using the product picker, as reflected below:
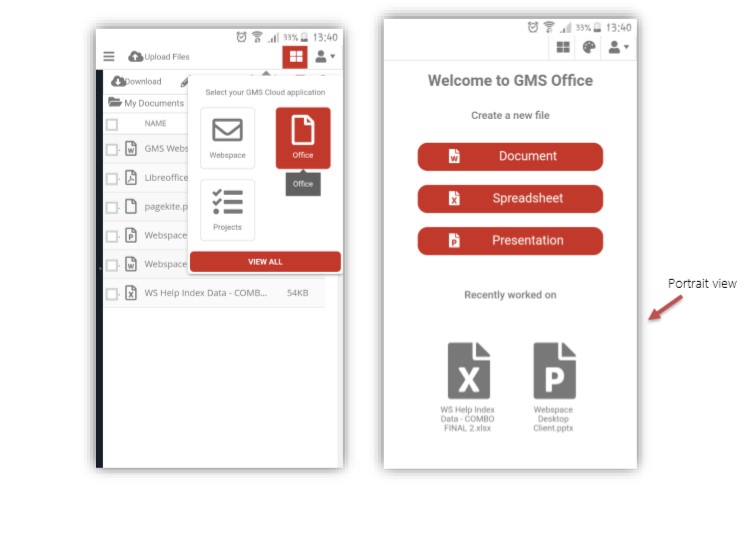
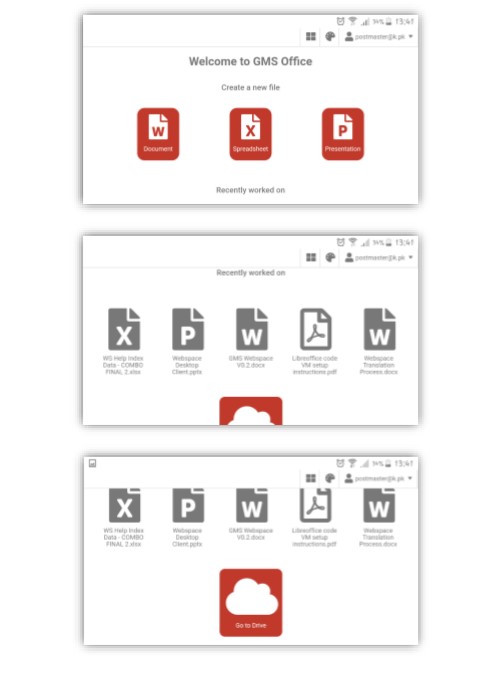
Similar to GMS Drive’s operability in the GMS PWA, GMS Office’ features and functions are identical to its web browser counterpart. From the app interface we can create, view and edit documents, spreadsheets and presentations.
We can also scroll to view more about recently worked on items:
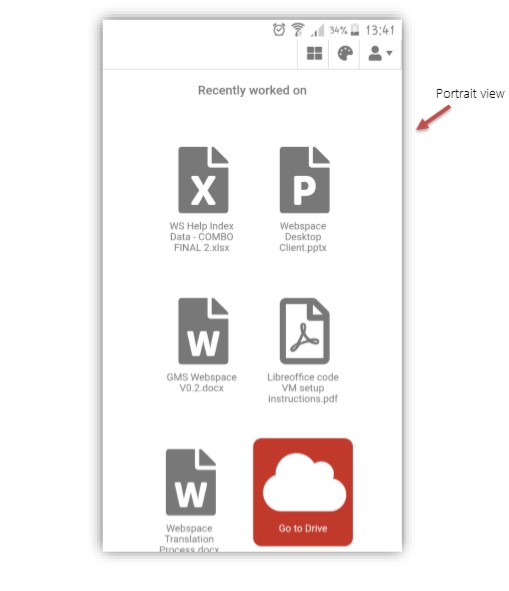
And use it in full conjunction with GMS Drive:
So that’s that. We hope it’s been informative and given you a true taster of how our GMS PWA will work.
At the time of writing, development for the GMS PWA is in full swing. Whilst we continue to streamline the app itself, our future targets for the GMS PWA include the integration of our mail module, as well as the development of a build for Google Play store.
If you’d like to find out more about our PWA development and what we do then feel free to get in touch.